
Creating a Google Search Console account is the first vital step in understanding your SEO efforts. It’s essentially the central hub for understanding what Google thinks about your website. In this article, we’ll cover how to set it up and maintain it.
As you can see, the site has been relaunched and rebranded a bit to fit our new goals. I wanted a way to be able to share my industry knowledge with every day users, so I set out to do just that using CodeCrunch. I have been in the web industry for over 25 years, and the information I share in these courses are enough to get you, at a minimum; an entry level job in the webmaster field. In fact, we’ll be looking at placement opportunities as we expand our offerings. Look for more on that later.
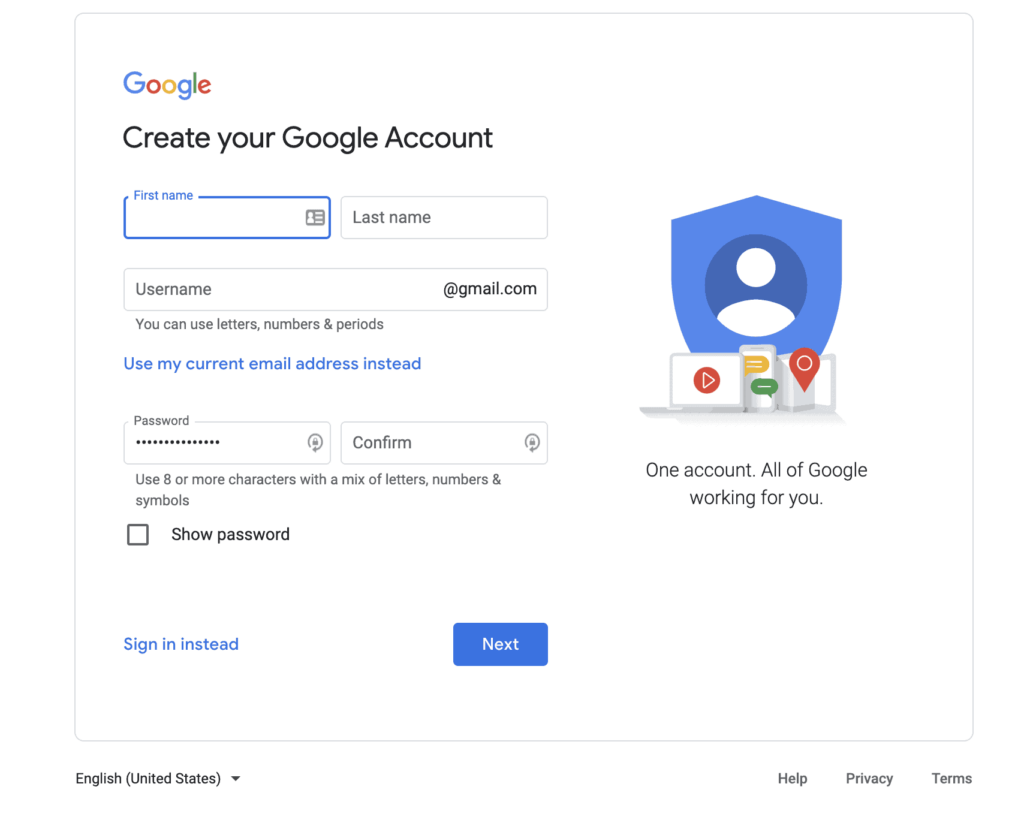
Step 1) Create a Google / Gmail account
If you don’t have a free gmail account or a corporate Google Workspace account, go ahead and create a free one here –> Create New Gmail Account.
You don’t have to use this email as your primary email of course, but having a Gmail account is a “must” when working online for many reasons. Most importantly it centralizes all of your Google sign-ins and services. One email and you can use it for every service you need : Google Docs, Google Sheets, Gmail, Workspace, and the one we’re looking at now – Google Search Console.
Step 2) Adding your site to Google Console
When you first go to Google Search Console, you’ll be greeted by a prompt to connect your first site. This prompt will ask you if you want to connect a Domain OR URL Prefix. The difference is that a Domain connection will show you all variations of the root domain you connect, and URL Prefix will only show you the info for the specified prefix.
For example, if you only want to view data for www.mymadeupdomainnamehere.com, then you can select URL Prefix and enter https://www.mymadeupdomainnamehere.com as the domain.
However, if you want to view all variations for mymadeupdomainnamehere.com, such as :
- www
- fakesubdomain (for fakesubdomain.mymadeupdomainnamehere.com)
- http versions
- https versions
Then you will want to select Domain connection.
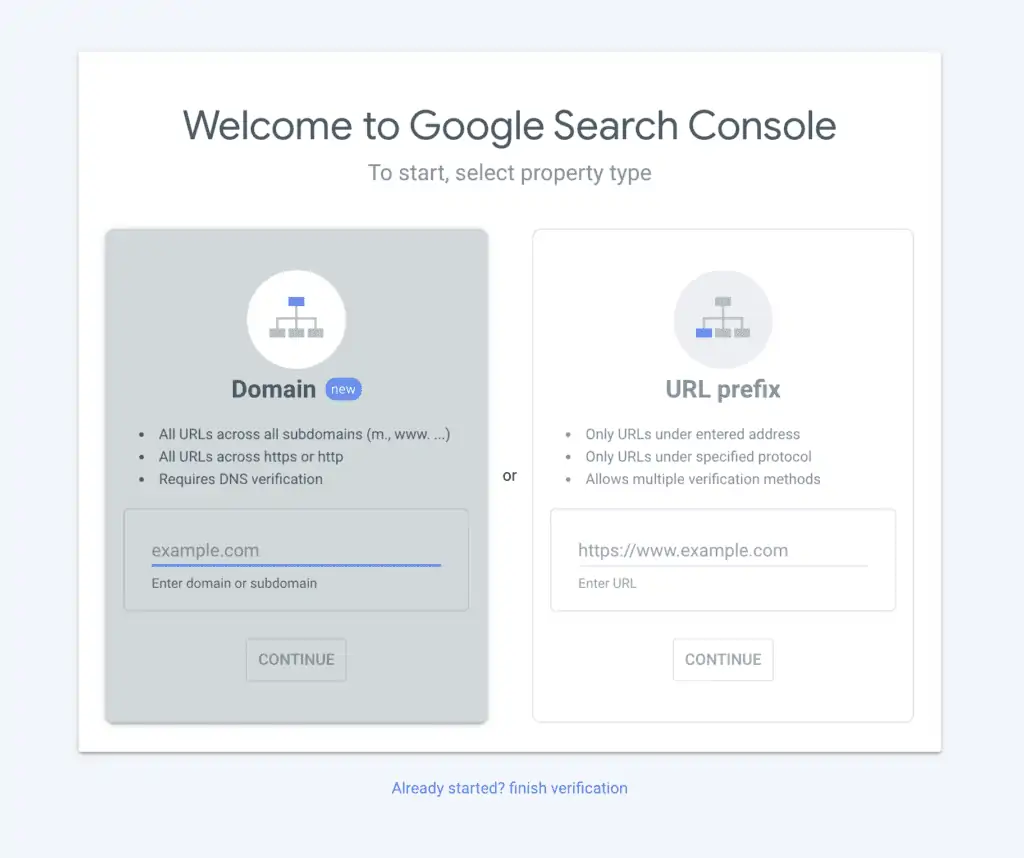
Whenever you can, we recommend a Domain property type. We’ll move forward in this article assuming you will chose this method. This will save you from having to verify every single subdomain and protocol. When choosing the Domain property type, it does require DNS (Domain Name System) verification. When you add your domain and press continue, you will be given a DNS txt record to add to your DNS :
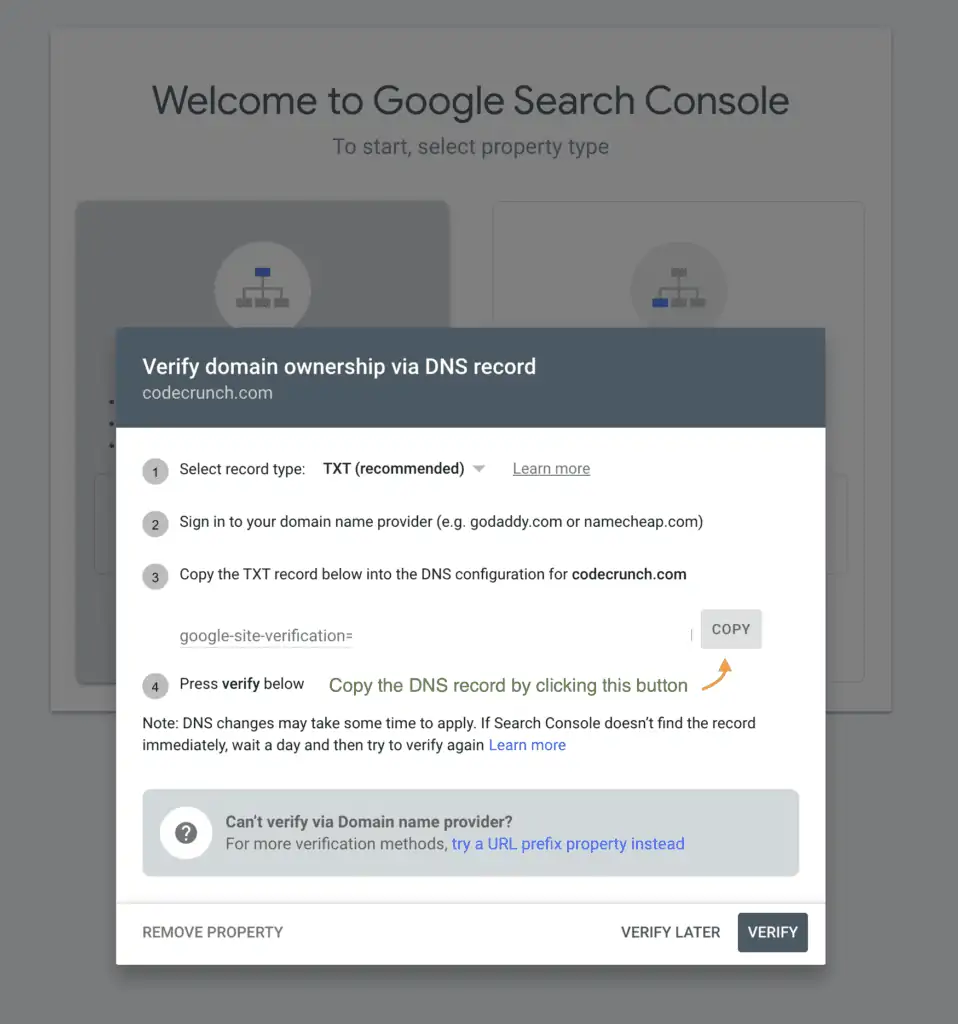
Simply copy that DNS record by pressing the “Copy” button.
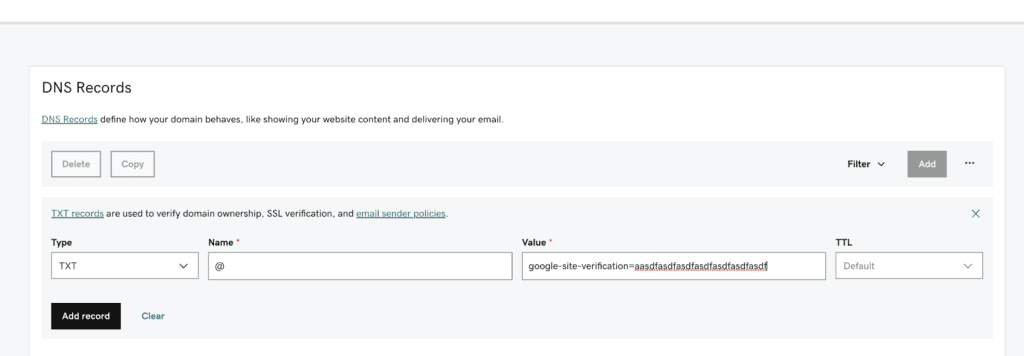
Step 3) Add TXT record to DNS for verification
How you go about this step depends on your DNS provider. In most cases this is your registrar or web host. Wherever you manage your DNS is where you want to add this record. For the sake of this example, we’ll use GoDaddy (only because it’s one of the largest registrars). Regardless of your registrar or where you may manage your DNS – the method of adding a TXT record should be fairly much the same. Below are also some links to many top major DNS providers to help you directly :
- How to add a TXT record on GoDaddy
- How to add a DNS record on Cloudflare (just choose TXT when prompted for type)
- Working with DNS in HostGator
Step 4) Verify with Google Console
Once you have added the DNS record, return to your Google Console window for adding the site. Click the verify button and if all is correct, the site will then be added to console.
Keep in mind it can sometimes take a couple days for your console data to populate if it’s new. Some sites may not have much data to begin with if it’s not receiving any traffic or is too new. Once data starts to populate it will look something like this :

That’s all there is to it. You would repeat these same steps for any additional sites you own. Keeping mind that you need to keep whatever method you used to verify in place. This means if you added a TXT record to your DNS, you’ll want to leave it. If you used file verification you want to ensure that you leave that file in the root directory of your website so that when Google scans for it they can always find it. Even after you’ve verified – leave the file on your host.
Have any questions? Post a comment below and we’ll be sure to respond!